
| Adding the Form Source to the Project | ||
|---|---|---|
 | Chapter 5. Dialog-Style Programs |  |
Adding the Form Source to the Project
Now that the design portion is done, we can start actually getting the program running. If it is still open, Superbase NG Personal can be closed. Now switch to our minimized IDE from earlier in the chapter (or reopen the project if it was closed). The first thing we'll do is include the form source code:
include "colorlab_form.sma"
After adding this line, save the file (Ctrl+S or select → from the menu). You will notice that a dependent entry for the file
colorlab_form.sma appears in the Project View
tree on the left. To see what that looks like, examine the image that follows.
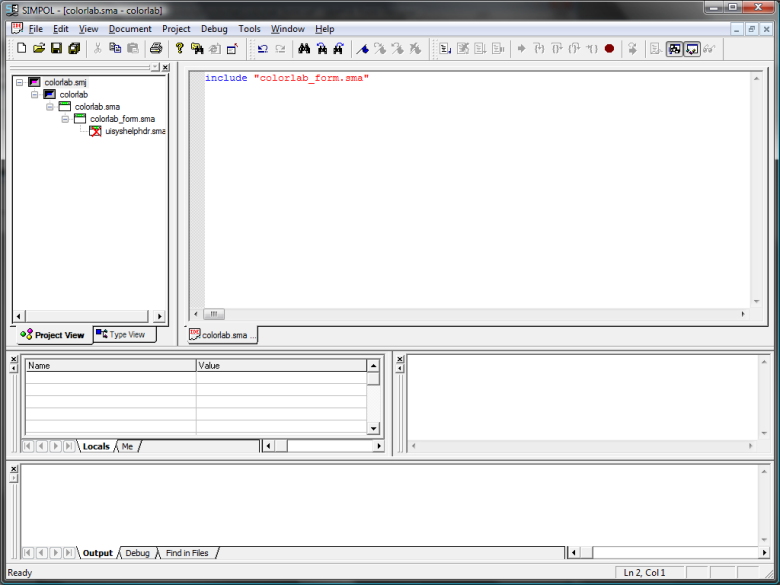
The SIMPOL IDE after adding the include entry to the project.
Also, another dependent entry appears below that, with a red X over the
icon. The source file uisyshelphdr.sma is included by the form
source code, but is not visible to the project. To resolve that, we need to add the
include directory to the project. We also need
to add a library that is used together with that include file. The library is called
uisyshelp.sml. To do this, from the menu
select → . Then select the second tab, Includes and Libraries.
On the left side click on and then locate and select the
include directory from the SIMPOL installation.
On the right side, also click the button. Select the
uisyshelp.sml file to add it to the list of
libraries. The result can be seen in the following image.
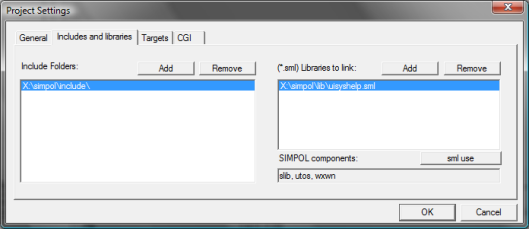
The Project Settings dialog after adding items.
Now click on the button and that will show a warning dialog
informing you that three additional components will be added to the project:
utos, slib, wxwn. See the equivalent image hereafter.
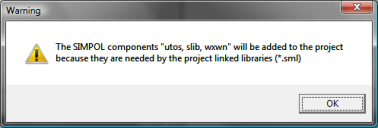
The Project Settings warning dialog adding components.
This is done by detecting the required components from the library. Without those components the library would not work correctly. As can be seen from the following screen shot, once the update to the Include Folders has been added, the IDE now shows the entry in the Project View with a normal icon; the red X is gone.
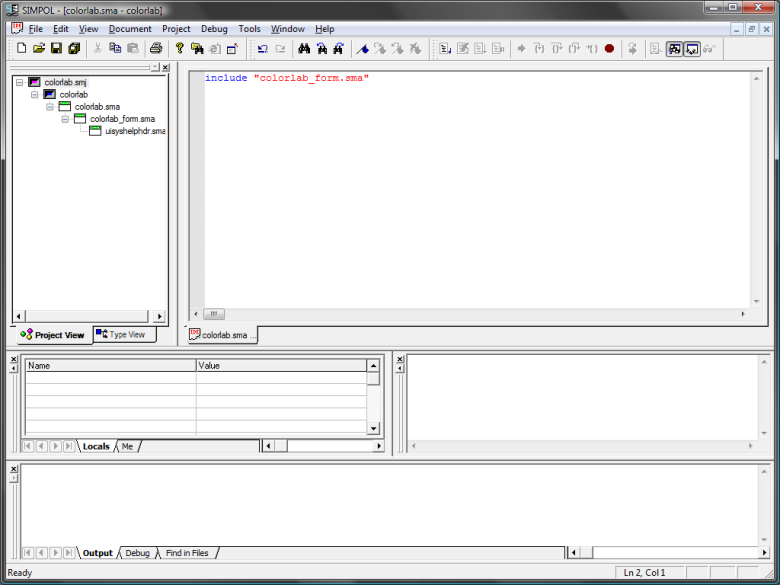
The SIMPOL IDE showing the updated project.